Component animations with Framer Motion 🚀

Today, I would like to introduce you to my favorite animation tool for React projects - Framer Motion! It is a very simple and enjoyable library to work with animations.
In this post, we will take a closer look at Framer Motion, discuss its most important features, and learn how to add stunning effects to our applications. To show you how it all works, we will build a simple but eye-catching Drawer component together, which will be perfect for many projects.
Above all, we will see that creating animations in React can be really easy and enjoyable. Let's get to work! 🎉
Animations, interactions, and more: Meet Framer Motion
Framer Motion offers a wide range of possibilities that allow for creating diverse animations and interactions in React applications. Here are some of them:
- CSS Animations: Allows you to animate various CSS properties such as color, size, margins, and position of elements.
- Drag and drop: Simple drag and drop implementation for elements on the page.
- Gestures: Supports gestures such as swiping and zooming to create more interactive apps.
- Spring physics: The application of spring physics to animation, which allows you to create more realistic and smooth effects.
- Orchestration: Controlling the order and timing of the animation of multiple elements, so we can create complex scenes.
- Variants: Create defined animation variants for different states, making it easier to manage and control animations.
- Shared layout animations: Facilitating animations between different components, e.g. when changing pages in an application.
- AnimatePresence: Easily add in and out animations for components that appear and disappear in the DOM.
- Server-side rendering (SSR) compatibility: Works with server-side rendering for easy development of optimized applications.
- Performance optimizations: Optimization of animation performance so that they run smoothly even on weaker devices.
Thanks to these features, Framer Motion allows for creating attractive, fluid, and responsive animations in React applications. In the following sections of this post, we will apply some of these possibilities to create a drawer component with animations and gestures.
Project configuration
We install the library using npm/yarn as usual:
npm install framer-motion
Next, we create a new component and write the HTML structure:
1function Drawer() {2 const [open, setOpen] = useState(false);34 return (5 <>6 {open && (7 <div8 className="drawerOverlay"9 />10 )}11 <div12 className='drawer'13 >14 <div15 className='drawerInner'16 >17 <DrawerHeader />18 <DrawerContent />19 </div>20 </div>21 </>22 );23}24
And we style it a bit using CSS:
1.drawer {2 font-family: 'Open Sans', sans-serif;3 position: fixed;4 top: calc(100% - 94px);5 width: 100%;6 left: 0;7 right: 0;8 height: 90%;9 z-index: 4;10 pointer-events: initial;11}1213.drawerInner {14 height: 100%;15}1617.drawerOverlay {18 width: 100%;19 height: 100vh;20 position: fixed;21 background-color: rgba(0, 0, 0, 0.3);22 top: 0;23 left: 0;24 z-index: 3;25 backdrop-filter: blur(0.4rem);26 pointer-events: initial;27 transition: all 0.3s ease-in-out;28}29
With this basic structure prepared, we can proceed to animate the opening and closing of the drawer and handle the drag gesture.
Added framer motion animation
Let's tackle the overlay animation first. The assumption is that when our component is open, we will show a semi-transparent blurred overlay in the background. It will also handle closing the drawer after clicking on the overlay. This element only renders when the open variable is set to true, and it is also removed from the DOM when the drawer is closed. Since closing the overlay makes the element disappear from the DOM, we need to use <AnimatePresence> here.
This is a component provided by the motion framer that allows you to animate elements that disappear from the DOM. We wouldn't be able to do it with plain CSS.
We will also add a small opacity animation to the overlay. To do this, we need to prepare an object that will contain animation configurations. In motion framer we can do this with Variants:
1const overlayVariants: Variants = {2 hidden: { opacity: 0 },3 visible: { opacity: 1 },4 };5
The object represents 2 states that our overlay will take - opacity: 0 and opacity: 1. Thanks to this, we will get the effect of smooth appearing and disappearing, instead of jumping.
1<AnimatePresence>2 {open && (3 <motion.div4 className="drawerOverlay"5 initial="hidden"6 animate="visible"7 exit="hidden"8 onClick={handleCloseDrawer}9 variants={overlayVariants}10 />11 )}12</AnimatePresence>13
We need to wrap the whole thing with the aforementioned <AnimatePresence/>. Then we replace the div with the <motion.div structure, thanks to which we will get the motion framer functionality. We need to assign appropriate animations to props initial, animate and exit. These animations will be taken from the overlayVariants object, which we need to pass to the variants prop. Individual props are responsible for:
initial- initial state of the componentanimate- what properties of the element are to be animated - in our case opacity is to be animated from 0 to 1exit- what animation should be fired for removing an element from the DOM. In our case, it will be an animation from thevisibletohiddenstate
This is enough to get a nice animation of the overlay appearing and disappearing.
Now let's move on to the main drawer opening animation.
We need to create another Variants object, this time for the drawer opening and closing animation:
1const variants: Variants = {2 inactive: { y: 0 },3 active: { y: '-80%' },4 };5
The position will be animated in the Drawer. At first, the screen will show a button to open the drawer and a piece of content, and after opening, we will change the y value of the component to make it visible on 80% of the entire page.
At the same time, we want the drawer to open and close on a pull up/pull down gesture. So we need to create a function that will recognize how the user made the drag gesture:
1const handleDragEnd = (_: unknown, info: PanInfo): void => {2 if (info.offset.y < 0 && info.offset.y < -80) {3 setOpen(true);4 }56 if (info.offset.y > 0 && info.offset.y > 80) {7 setOpen(false);8 }9};10
The info object contains all the necessary data regarding the performed gesture. The function is called handleDragEnd because we only need to handle the end of the gesture execution. Using info.offset we know exactly by what value the drawer has been shifted. We don't want the drawer to open or close with each gesture, so we add a buffer in the form of 80px, i.e. if the user dragged the drawer by more than 80px, it means that he wants to open or close it.
This setup is enough to update our HTML structure:
1<motion.div2 className={'drawer'}3 dragElastic={0.8}4 onDragEnd={handleDragEnd}5 dragConstraints={{ top: 0, bottom: 0 }}6 drag="y"7>8 <motion.div9 className={'drawerInner'}10 transition={{ type: 'spring', duration: 0.8 }}11 variants={variants}12 initial="inactive"13 animate={open ? 'active' : 'inactive'}14 >15 <DrawerHeader />16 <div className='drawer-content'>17 {/* Placeholder for content */}18 </div>19 </motion.div>20</motion.div>21
We've covered the variants, initial and `animate' props before, so here we'll focus more on drag handling. As you can see, several values are responsible for this:
drag="y"- defines in which direction the user can drag. Only vertically (up and down)dragConstraints- defines the boundaries beyond which an element can be dragged. We block in such a way that you cannot go beyond the top and bottom.onDragEnd- a method that fires when the user finishes making a gesture - here we pass the previously defined functiondragElasticandtransition- additional animation parameters. I encourage you to play with them!
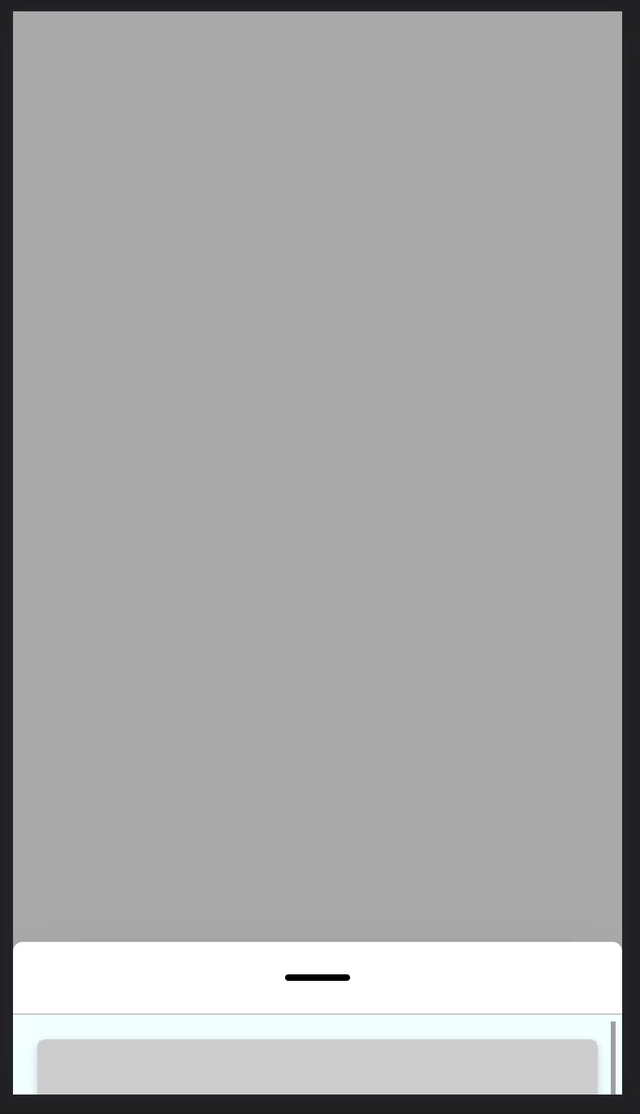
The end result
And that would be it. As you can see, you don't need a lot of complicated code to get a nice, smooth and efficient animation. Here is the end result:
The entire project is available on github:https://github.com/dawidkostrzewa/drawer-framer-motion