Practical side project in one evening? - Creating a bot for task automation using TypeScript, Puppeter, Supabase and Make.com.

Side projects are a brilliant way to learn, develop programming skills and experiment with different technologies. Furthermore, you don't have to chase deadlines, so you have more freedom in making decisions and testing your ideas. Today, I would like to present a project that I built in just one evening, which turned out to be very useful and practical for me. I will show you how to build a bot for searching apartment listings and sending messages on Telegram. Together, we will deploy it on Supabase and use Make.com, to automatically run it at specified intervals.
Where did the idea come from?
Everyone needs a roof over their head, and since I don't have my own apartment, I have to rent. Good apartment listings can quickly disappear from the market, and I don't have time to constantly refresh and browse listing sites. I needed a tool that would do this for me and send me a summary of listings - hence the idea of creating a bot was born.
Stack
In the project, I used:
- https://pptr.dev/ - Puppeteer - a tool for running a headless browser and extracting data from HTML.
- https://supabase.com/ - a free alternative to Firebase. We will deploy the application here.
- https://www.make.com/ - a tool for creating automations. We will use it to run the bot.
- https://core.telegram.org/ - Telegram bot. It has a free, well-documented API, as well as open-source NPM libraries that handle this API.
I had never dealt with Supabase and Make before, so this side project was a perfect opportunity to experiment and try out these tools.
Let's start - puppeteer
Let's start by writing the source code for the bot and running it locally using Node. We'll begin by installing the puppeteer and grammy packages. grammy is a TypeScript-based Telegram API wrapper.
1npm install --save puppeteer grammy
Let's import the two libraries and create the basic structure:
1import { Bot } from 'grammy'2import puppeteer from 'puppeteer'34const getFlats = () => {5 console.log("find flat bot")6 // here we will write bot code7}89getFlats()10
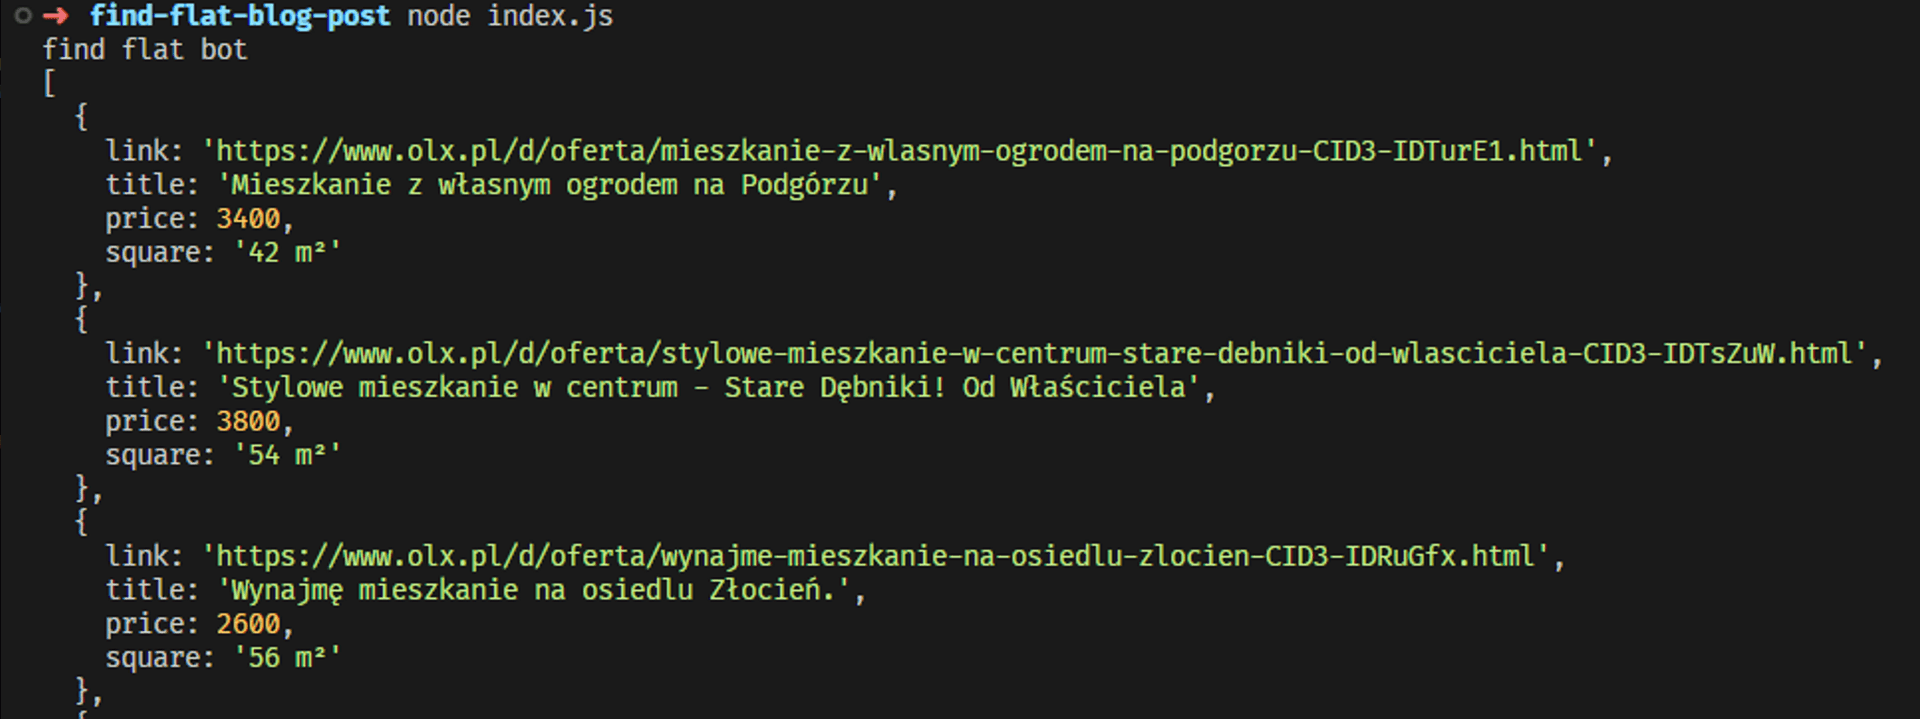
After running node index.js, we will see find flat bot in the console.
Now, let's move on to configuring Puppeteer.
1const browser = await puppeteer.connect({2 browserWSEndpoint: `wss://chrome.browserless.io?token=${process.env.PUPPETEER_BROWSERLESS_IO_KEY}`,3 })45const page = await browser.newPage();67await page.goto('<page url>', { waitUntil: 'domcontentloaded' });8
We need to use the browserless.io portal and get an API key because Supabase Edge Functions does not support headless Chrome.
In the example above, we have the initialization of the browser and the opening of the page from which we want to retrieve data. Once we have access to the page, we can extract everything we need from the HTML structure. My example will be based on the website.
1const flats = await page.$$eval('[data-cy="l-card"]', (items) => {2 return items.map((i) => {3 const title = i.querySelector('h6').innerText;4 const link = 'https://www.olx.pl' + i.querySelector('a').getAttribute('href');5 const price = parseFloat(6 i.querySelector('[data-testid="ad-price"]').innerHTML.split(' zł')[0].replace(' ', '')7 );8 const square = i.querySelector('[data-testid="blueprint-card-param-icon"]').nextSibling.textContent;9 return { link, title, price, square }10 });11 });
The page.$$eval(selector) method is used to define the selector from which we want to extract data. $$eval means that all elements with the given selector will be retrieved. As the second argument of the function, we specify items, which are all the found elements with the given selector. We can iterate through them like an array. We can use the .map() function to access a single HTML element and extract data from it using regular JavaScript methods such as .querySelector(). In this case, we retrieve the title, link, price, and area of a given apartment, and then return them as an object. After running the code, something like this will appear in the console:
We can also limit the results to a maximum of 10. Everything depends on the configuration.
Telegram bot configuration
To set up your bot, you need to consult the Telegram documentation.
In short, it's very simple. After launching Telegram, just message the account [@BotFather](https://t.me/botfather) and call the /newbot. command. We will receive an API key that identifies our bot.
Then, we need to configure the bot in the code. With the data prepared in this way, we can then send it to our bot.
1const bot = new Bot(TELEGRAM_BOT_API_KEY)
where TELEGRAM_BOT_API_KEY is our API key obtained when creating the bot.
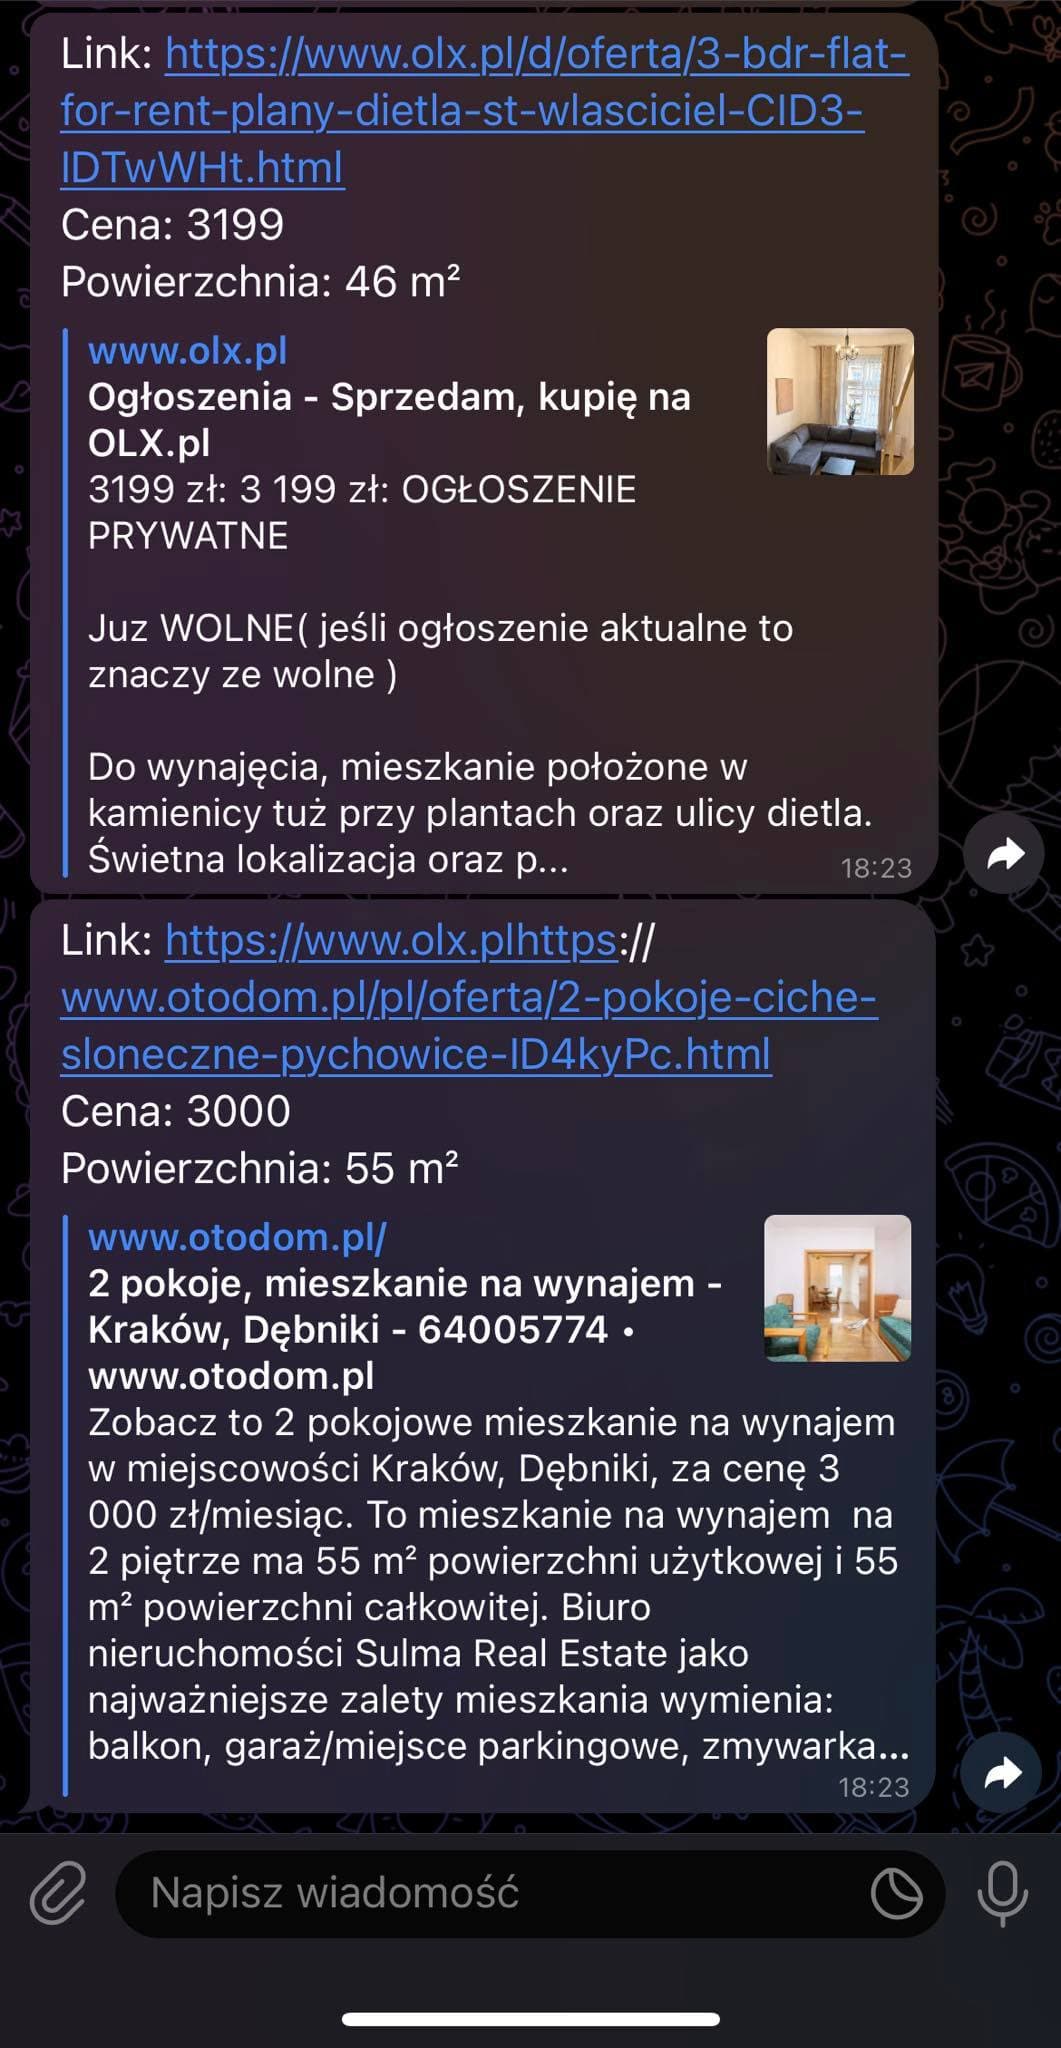
Next, I iterate through the entire flats array obtained in the previous step, creating a message that will be sent by the bot. Each offer will be a separate message. It's just a plain string.
1flats.forEach(async (item) => {2 const message = `Link: ${item.link} \nCena: ${item.price} \nPowierzchnia: ${item.square}`;3 await bot.api.sendMessage(chatId, message);4 });
After saving and running the code, we should receive a message like this on Telegram:
Awesome! That's what we were aiming for. Now it's time to deploy to production and automate it.
Deploy to Supabase
Some time ago, I heard about Supabase as a cool open source alternative to Firebase and decided to use this platform in my project.
We need to start by creating an account and a project. The whole process is guided by Supabase in a simple and efficient way.
Next, we go to the Edge Functions tab, where we will create a function that will be called by the webhook. But before we do that, we need to configure Supabase.
First, we need to log in to the console using supabase login. Then, we initialize the project using the command supabase init, and then we link the id of our project using supabase link --project-ref your-project-ref. After completing these three steps, we will be ready to create the function. We create the function using the command supabase functions new <your function name>.
This will generate the structure ./functions/<your function name>/index.ts.
In the index.ts file, we will find the Supabase function template. Edge functions work here on Deno, so we will need to modify our code a bit. First of all, we need to update the package imports. We cannot directly import from npm, and we need to use the Deno repository (more information about Deno can be found in the documentation. https://deno.land/).
So let's update our imports.
1import { serve } from "https://deno.land/std@0.168.0/http/server.ts"2import { Bot } from "https://deno.land/x/grammy@v1.8.3/mod.ts";3import puppeteer from 'https://deno.land/x/puppeteer@16.2.0/mod.ts'
All code needs to be put inside serve() function
1serve(async (req) => {2 // bot code3})
Here we should paste the bot code. It's worth noting that environment variable handling in Deno looks different. We need to use the Deno.env.get('TELEGRAM_BOT_API_KEY'). To set environment variables in Supabase, we need to run a command in the terminal.
1supabase secrets set TELEGRAM_BOT_TOKEN=your_token <rest of your tokens>
And that's it. The last step is to deploy the function using the command supabase functions deploy <your function name>.
After a moment, we will receive information in the console about the address at which our function is available. To call it, we need to make a POST request with a JWT authentication token, which we will obtain from the configuration of our project.
That's how the deployment on Supabase looks like. Our bot is ready. The last thing left is to make sure it runs automatically at specified intervals. To do this, we will use. make.com.
Make bot alive - configuration Make.com
Make.com is an advanced tool for creating automations for various tasks. It often receives positive reviews, but there is not always an opportunity to use it. In this project, we will have an excellent opportunity to test our skills. To begin, we need to create an account on Make.com.
After creating an account, let's go to the Scenarios tab and create a new scenario that will act as our bot.
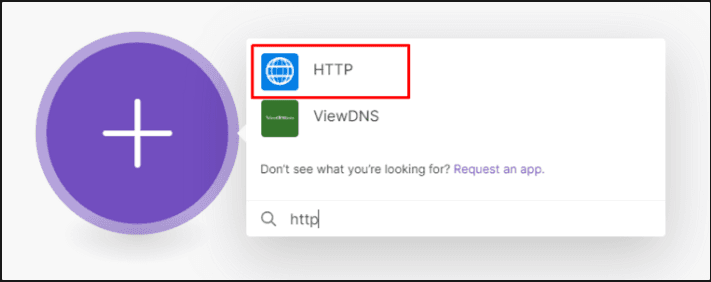
Let's choose the HTTP module and then
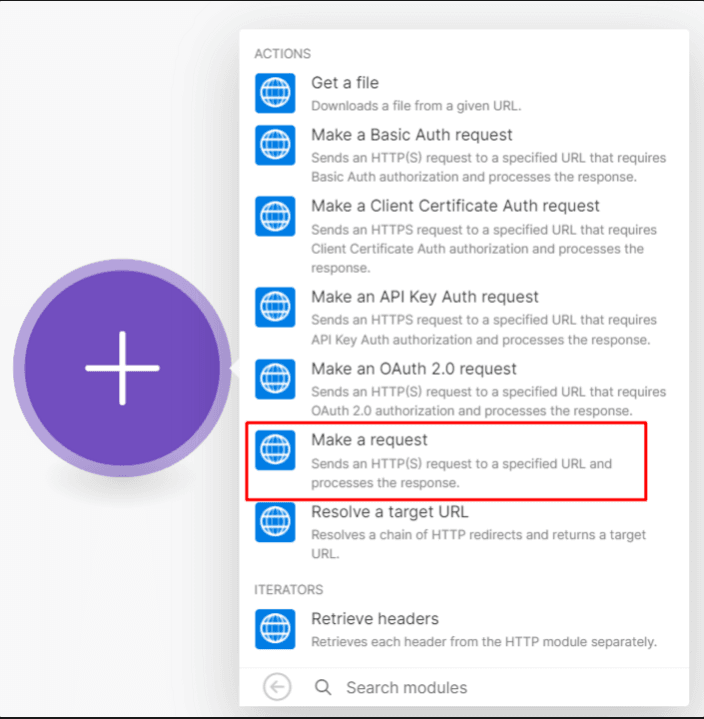
And we will get the configuration window for our request.
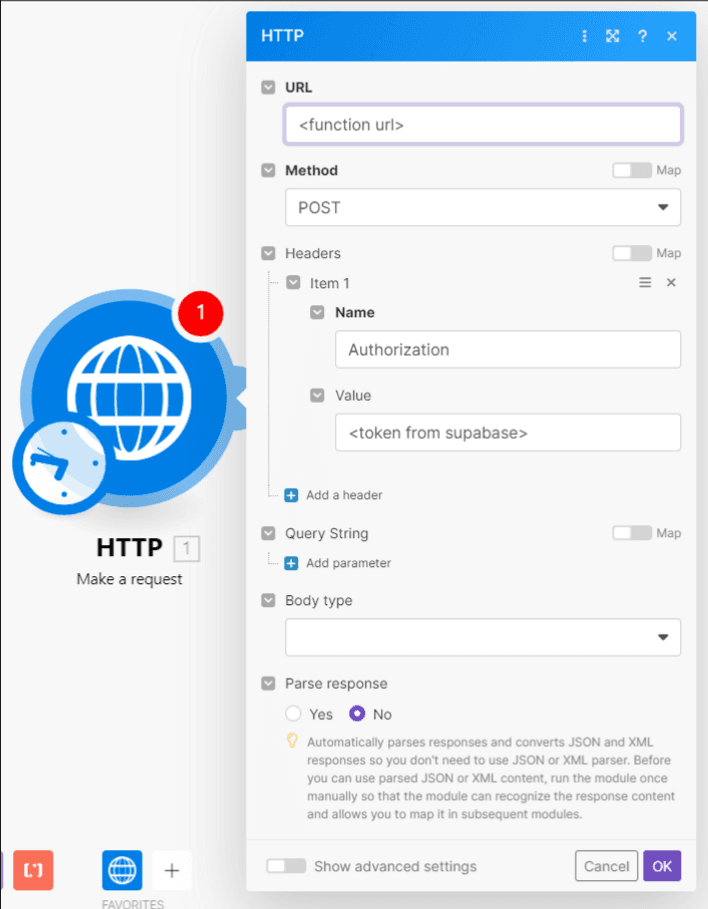
Now we need to take a few more steps to ensure that our automation works correctly. First, let's fill in the URL, change the method to POST, and add an authorization header. This way, we make sure that our bot can authenticate properly and send the required data.
Once we have configured these settings, our automation is ready to go! The last step is to select the time interval in which we want the workflow to be automatically triggered, or we can run it manually at any time by clicking the "Run" button.
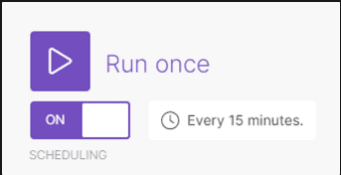
In the free version of Make.com, we have the ability to run 1,000 operations per month, which is sufficient for my needs.
Summary
To sum up, it's clear that you can create an interesting and useful project in just one evening, while also gaining new skills. I plan to further develop this project by adding the functionality of saving offer data to a database in Supabase (Postgres option is available), as well as checking whether a particular offer has already been sent to me to avoid duplicate offers. Currently, I'm only fetching the 10 latest offers, so there is a risk of receiving the same offer multiple times.
I hope this post will inspire you to create interesting side projects and encourage you to experiment with new tools. As you can see, a side project doesn't have to be a complicated application developed for many months - a few lines of code can significantly simplify daily life.